Begins February 1, 2016
And I'm joining her for the 2nd time!

She's gonna be giving goodies away and, weekly, will be
showcasing a coloring project that catches her eye --
So get those coloring books together you got for Christmas -- I received three! --
(By all means, you may pre-stamp or use computer printed digital images too.)
plus organize your supplies -- that means --
crayons, markers, paints, pencils, watercolors, etc.
whatever coloring mediums you own,
whatever coloring mediums you own,
And join us for some coloring "spa" therapy every day for 30-days!
P.S. Before I forget, you'll need to read
this stuff you need to know before you begin! !
And please use the hash tag #TheDailyMarker30Day
~~ <> @ <> ~~
Day 1: Kathy's Cute Card
Kathy compiled all her markers together into a 3-tier cart
that she purchased at Ikea which reminded me of
a 3-tier wire mesh cart on wheels that
I was using out on the front porch for plants.
However, being as how it is winter here,
I walked quickly to the porch,
pulled all the pots out of it
and scrubbed it down in the shower.
She also had cute little fabric sacks that she put all her markers in
and I was going to make some too until
I discovered my sewing machine wasn't working -- sigh! --
so anyway, I took a photo of all my coloring
pencils, so I won't have marker envy from you,
but coloring pencil envy! grin!

 click to enlarge if needed
I didn't look at my coloring of this digi from the last challenge,
however, I believe it is much improved.
I've been studying shadow placement,
watching copic marker and
coloring pencil videos since the last challenge.
I also used three shades of each color as well as using an eraser
and the white pen for highlights.
So what do you think compared to last time?
~~ <> @ <> ~~
Day 2: Kathy's Birthday Card
I was surprised by the blog hop today so thought I might make a
quick card instead of the coloring page I had planned for today.
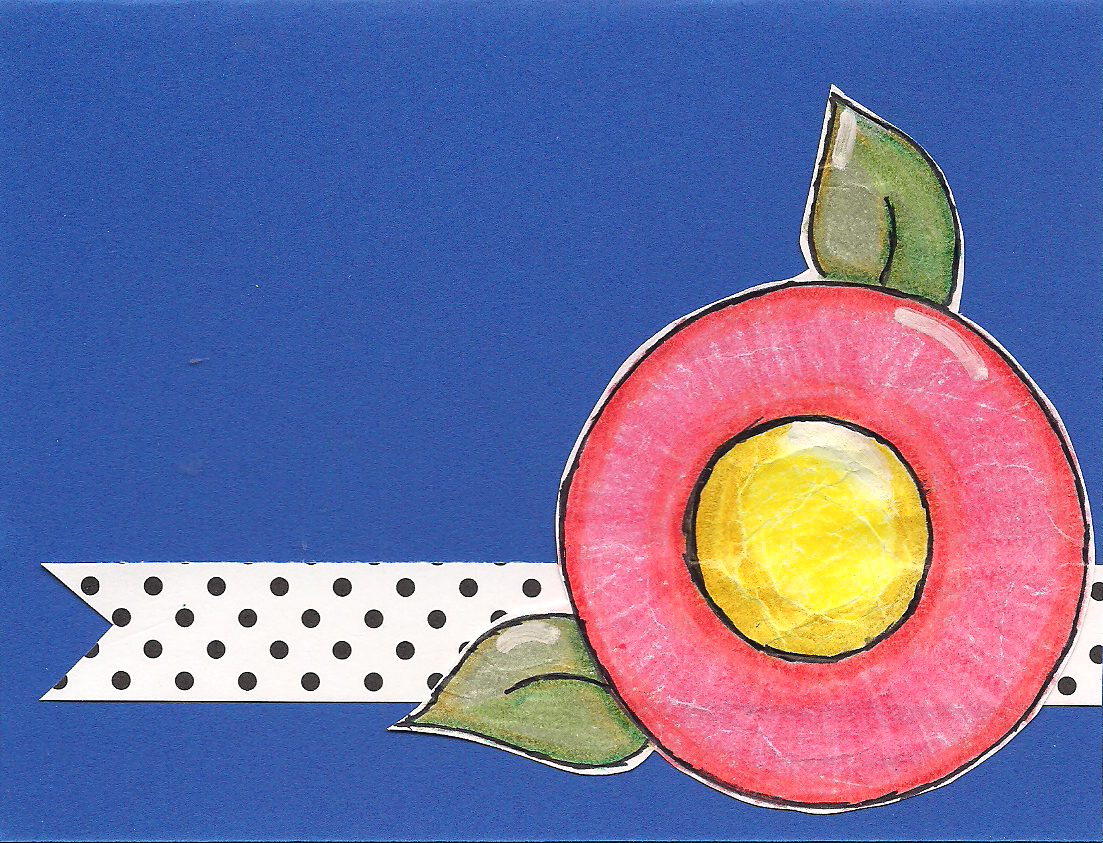
The flower is my own doodle. I traced around two round things
from my kitchen on printer paper, made two leaves,
and colored it all in with colored pencils.

~~ <> @ <> ~~
Day 3: Kathy's Mouse Card
I wanted to try something new and that is to color a coloring page
(Mary Engelbreit; received for Christmas) in marker
first, then go over it the next day in colored pencils for the shading.
So here's my coloring page in markers -- you need to use long strokes with
brush markers to get a smooth finish -- however,
I discovered some of my markers are drying up.
They are the first set of Stampin' Up marker colors.
I got them for half-price, because I purchased them used.
The seller wanted the new colors and her husband wouldn't let her
buy a new set until she sold her old set, so I got a bargain,
cause I've had them for years! grin!
I like Kathy's idea of buying markers every time
she receives a 50% off coupon in the mail.


P.S. Before I forget, you'll need to read
this stuff you need to know before you begin! !
And please use the hash tag #TheDailyMarker30Day
~~ <> @ <> ~~
Day 1: Kathy's Cute Card
Kathy compiled all her markers together into a 3-tier cart
that she purchased at Ikea which reminded me of
a 3-tier wire mesh cart on wheels that
I was using out on the front porch for plants.
However, being as how it is winter here,
I walked quickly to the porch,
pulled all the pots out of it
and scrubbed it down in the shower.
She also had cute little fabric sacks that she put all her markers in
and I was going to make some too until
I discovered my sewing machine wasn't working -- sigh! --
so anyway, I took a photo of all my coloring
pencils, so I won't have marker envy from you,
but coloring pencil envy! grin!

Last time I began the coloring challenge with a Stephanie Ackerman digi
and this time around I began with it again, however,
I purchased two white pens, a Sakura Gelly Roll (38) pen
and an American Crafts Galaxy Marker (#62122 white).
and this time around I began with it again, however,
I purchased two white pens, a Sakura Gelly Roll (38) pen
and an American Crafts Galaxy Marker (#62122 white).
The gelly roll pen doesn't always work over the waxy coloring pencil,
so the marker comes in handy for that.
One draw-back is the larger tip though.
so the marker comes in handy for that.
One draw-back is the larger tip though.

I didn't look at my coloring of this digi from the last challenge,
however, I believe it is much improved.
I've been studying shadow placement,
watching copic marker and
coloring pencil videos since the last challenge.
I also used three shades of each color as well as using an eraser
and the white pen for highlights.
So what do you think compared to last time?
~~ <> @ <> ~~
Day 2: Kathy's Birthday Card
I was surprised by the blog hop today so thought I might make a
quick card instead of the coloring page I had planned for today.
The flower is my own doodle. I traced around two round things
from my kitchen on printer paper, made two leaves,
and colored it all in with colored pencils.
~~ <> @ <> ~~
Day 3: Kathy's Mouse Card
I wanted to try something new and that is to color a coloring page
(Mary Engelbreit; received for Christmas) in marker
first, then go over it the next day in colored pencils for the shading.
So here's my coloring page in markers -- you need to use long strokes with
brush markers to get a smooth finish -- however,
I discovered some of my markers are drying up.
They are the first set of Stampin' Up marker colors.
I got them for half-price, because I purchased them used.
The seller wanted the new colors and her husband wouldn't let her
buy a new set until she sold her old set, so I got a bargain,
cause I've had them for years! grin!
I like Kathy's idea of buying markers every time
she receives a 50% off coupon in the mail.

~~ <> @ <> ~~
Day 4: Kathy's Artistic Color Card
I follow Stephanie Ackerman's Documented Faith 2016
and the coloring page is to decorate January's
divider page in my faith-book binder.
I want to get it laminated so it's a little studier and to keep it clean.
Here is it after I added in the coloring pencil
over the marker ink. The black washi tape is where
the tab is located at. All of it didn't fit into my scanner bed.

~~ <> @ <> ~~
Day 5: Power Poppy
Anybody remember the scratch pictures we made in elementary
school art classes? Well, last night I found a book on clearance
at a used book store on how to make them
and I decided to try my hand at it again.
1. You cover a piece of smooth white cardstock, cut down into the size you need,
with a heavy coat of crayons in multiple colors. Make any design you like.
2. Then completely cover the colorful background with a heavy coat of black crayon.
It said you could also cover the background with black paint, but that you had to find a paint that would work well as some are harder to scratch through than others.
3. After the background is completely covered with black, then use a tool to scratch the surface. They suggested taking a dowel rod the size of a pencil in circumference and sharpen one end in a pencil sharpener, which I did. I have a jar of 12" dowel rods I bought at Walmart some time ago. Or you can use a fork, anything with a sharp point on the end.
4. You can design your own picture or they suggested using a stencil to scratch through the black crayon or paint to the rainbow colors underneath. And to protect the surface, from stray scratches or ground in crayon crumbs, lay a piece of paper on top under your working hand. I also added in a sentiment.
5. They said to protect the surface of the scratched picture, cover the surface with clear packing tape. Be sure to gently whisk off crayon crumbs, or you will have bumps in your tape. It was fun to do and I may have to make another.
Here's my card:

~~ <> @ <> ~~
Day 6: Lasting Hearts
You know when you don't like something, right?
I don't like this card, but I'm making myself post it anyway.
I don't like this card, but I'm making myself post it anyway.
It's not the fault of the digi from Highlander Celtic Stamps,
but the cardmaker. I bombed today --
however, I did apply color.

~~ <> @ <> ~~
Day 7: Kathy's Winners This Week!
Congrats everybody!
Stephanie Ackerman inspired these painted hearts.
I used my Stargazers by US Art Quest Watercolor Palette
(10 Pearlescent & Metallic Colors),
my water brush, and my pinkie (to prop my hand up from touching painted surface)
while I painted forward and backward commas to make the hearts.
I painted 4 sheets.

Update: Continue with the second week of the 30-Day Coloring Challenge here.